
#
Migrating Sites with Site Export
This article will explain in detail how to use the UniFi Site Export and Import features to quickly and easily export sites from one Controller (including configuration and devices) to another.
Notes
- The new Controller version (the one you will be migrating the site to) must be the same or newer than the Controller you are migrating from.
- Exporting a site using the method described in this article will create a new site in your Controller. Since the default site cannot be deleted, the Controller would have two sites (as minimum). If this is not something you want, we would recommend using the "backup and restore" method.
- Make sure you have Multi-Site Management enabled in your System Settings.
#
Overview
The Site Export feature allows UniFi administrators (with Super Administrator roles only) to export sites from one UniFi Network Controller to be managed by another UniFi Network Controller. This was previously possible with manual configuration, but the wizard offers a more convenient, and user-friendly way to do this. This process can work to/from any type of UniFi Network Controller including locally hosted controllers, Cloud Keys, Dream Machines and UniFi Cloud Controllers as long as the new controller's version is the same or newer than the source controllers version.
IMPORTANT: It is important to note that the Site Export feature is not meant to be used to create a complete backup or to perform a restoration via the Setup Wizard since it does not include the admin accounts or controller level configuration.
The migration process is virtually seamless, with a downtime of about a minute as devices provision and a few minutes for devices to appear in the new controller when changing the "inform URL". The "Inform URL" is what tells your UniFi devices the location of their UniFi Network application controller.
#
How to Migrate a Site
To get started, open the Controller and select the site using the site switcher in the top left.
NOTE: To minimize complications, make sure to complete every step of the process, not skipping any. Please verify that the new Controller version (the one you will be migrating the site to is the same or newer than the original Controller's
Go to Settings > System
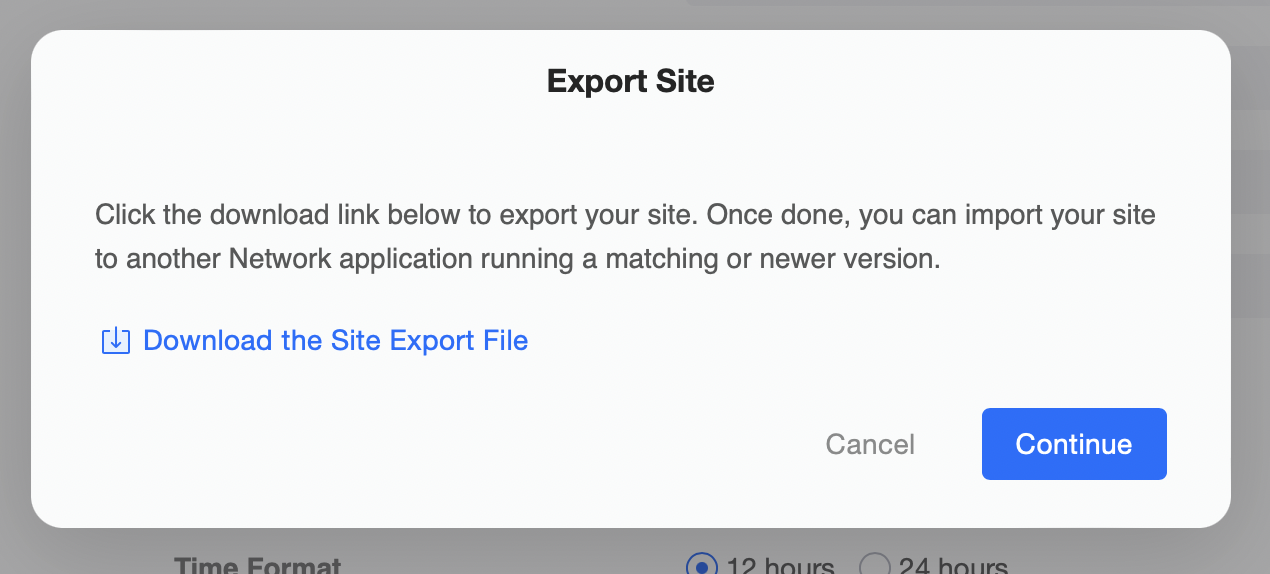
Click the "Export Site" link below "Site Management"

Click “Download the Site Export File” to download the file that contains the site configuration to be imported into the controller you are migrating to.
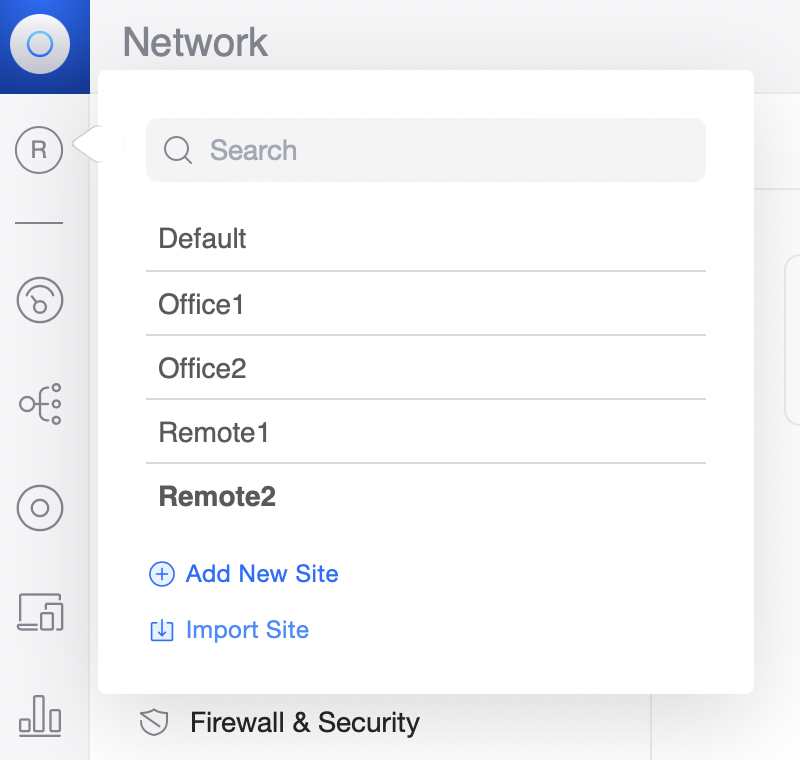
Next, import this site into the new controller. Open the site selector in the top left and select the “Add New” option. (If you do not see the site selector, you will need to enable "multi-site" feature under settings > system > general)
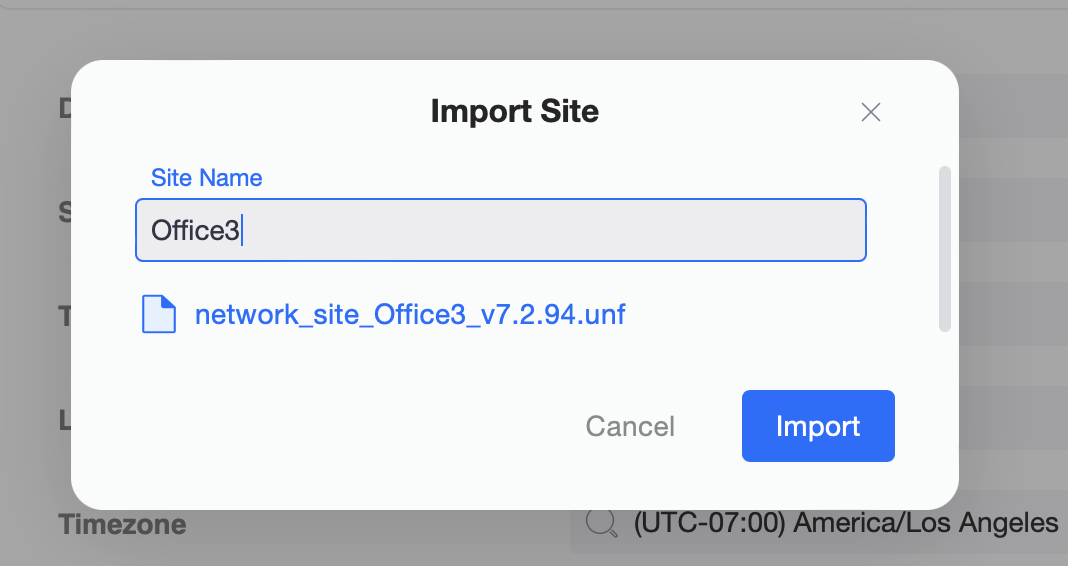
Enter a name for the the site. It does not have to match the original site name. Once the site has been named, click “Import Site” and select the site export file that was just downloaded. Next, click "Add"
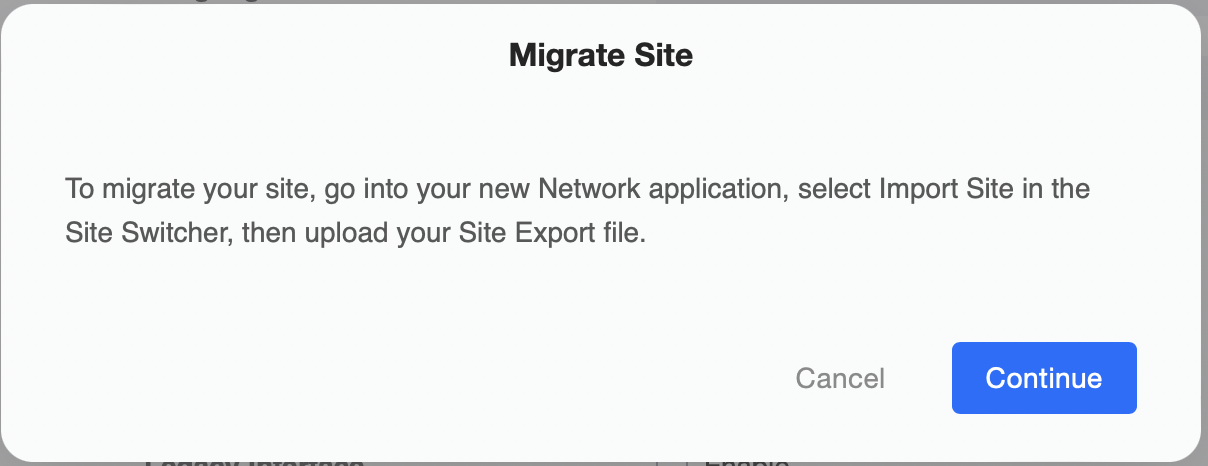
Once the import has finished, go back to the controller you are exporting from and click "continue".
The following steps will migrate the devices. To do so:
First, find the domain name of your new controller. In this case, the new controller has the hostname of "example.cloudunifi.com", so you will enter that value in the "Hostname" input field. Leave the port as 8080.

Next, select the devices that are to be migrated over by ticking the boxes next to each one, or select the entire list by ticking first checkbox.
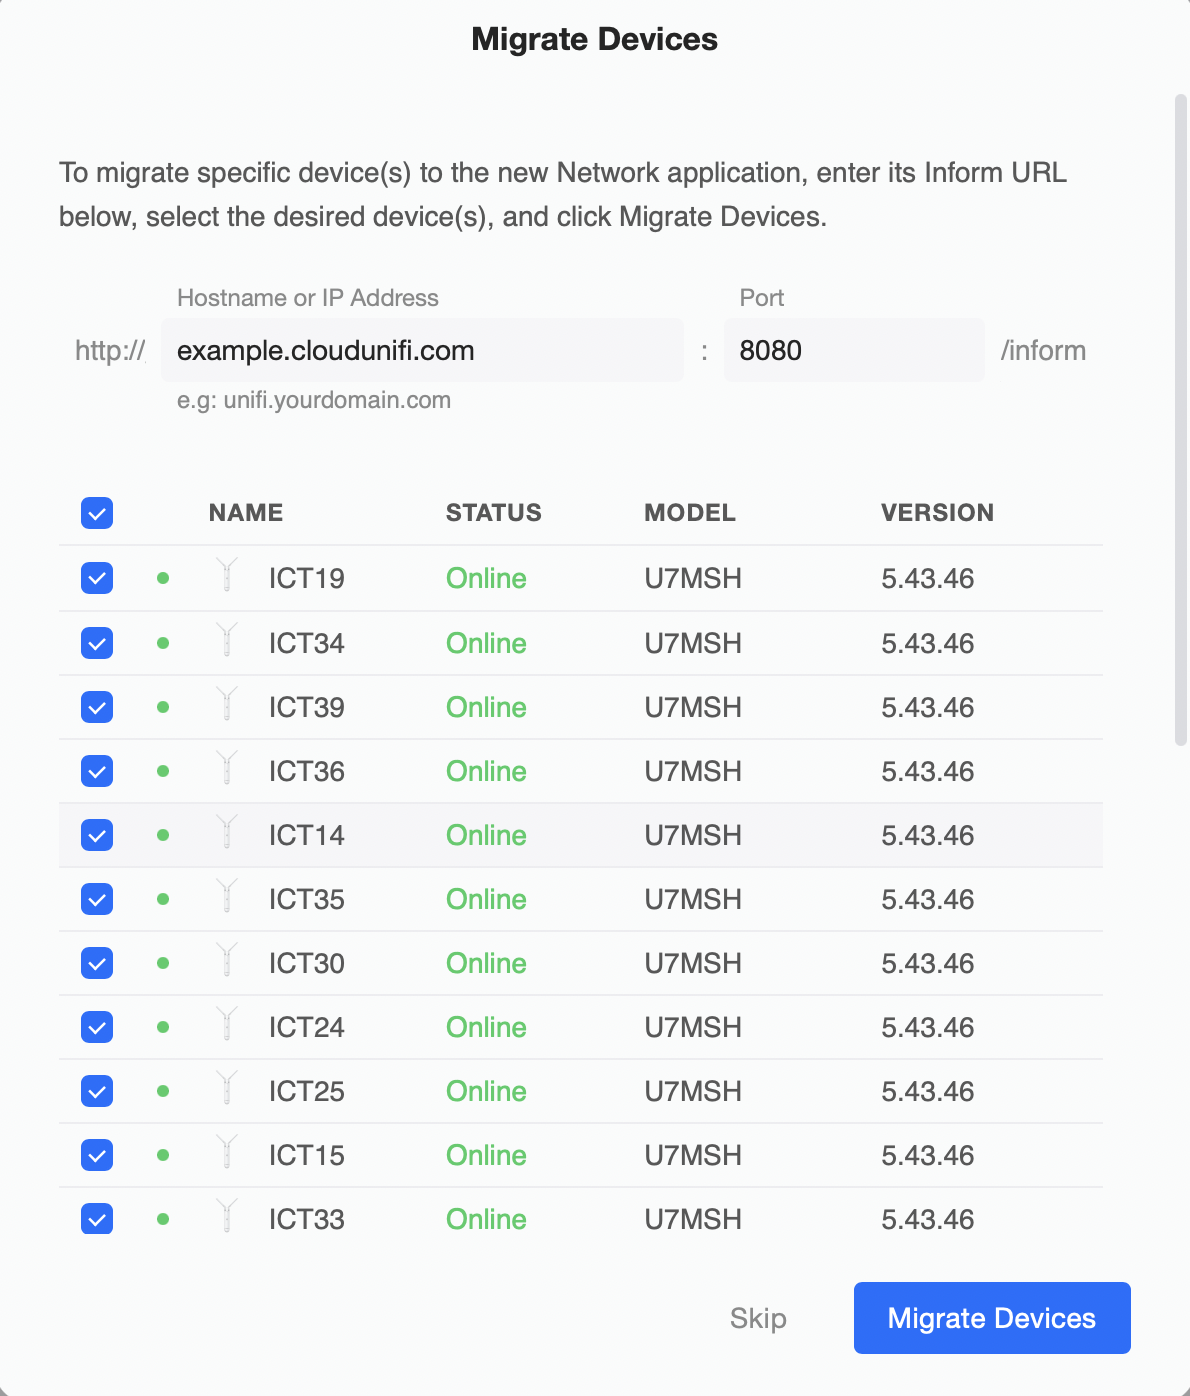
Click “Migrate devices” button.
Verify that all devices are connected to the new controller and are visible on the devices page. Note this may take a few minutes. Once devices appear with a status of "Online" in the new controller site, you may select "forget devices" or click "skip" to close the dialogue box.
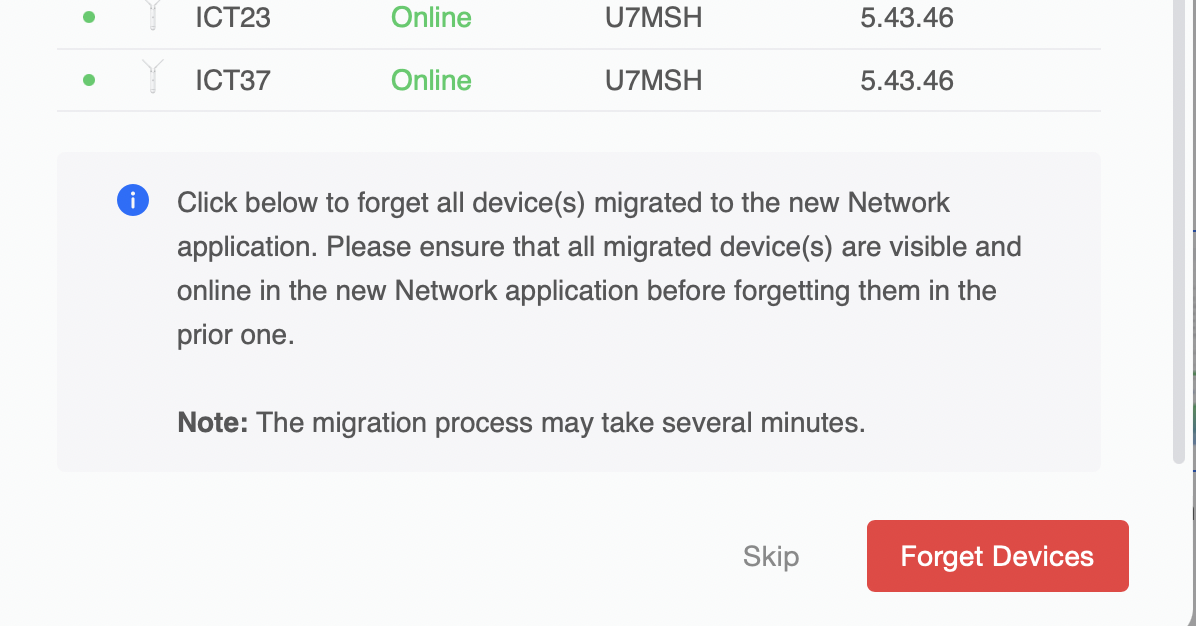
IMPORTANT: Verify that the devices are visible and appear as connected in the new Controller Sites Devices section before clicking Forget Devices.
Once the site export wizard has completed with success, the devices will be configurable in the new controller. At this time, unless the site was a default site, it should be safe to remove the site from the previous controller.